The setup wizard is designed to simplify the initial configuration of the AI Content Wizard plugin. It helps you quickly:
- Verify that your system is compatible with the plugin.
- Configure providers for generating text and graphic content.
- Enable notifications (via email and Telegram) to keep you informed of important events.
- Complete the basic setup so you can start using the plugin without unnecessary complications.
Step-by-Step Setup Guide #
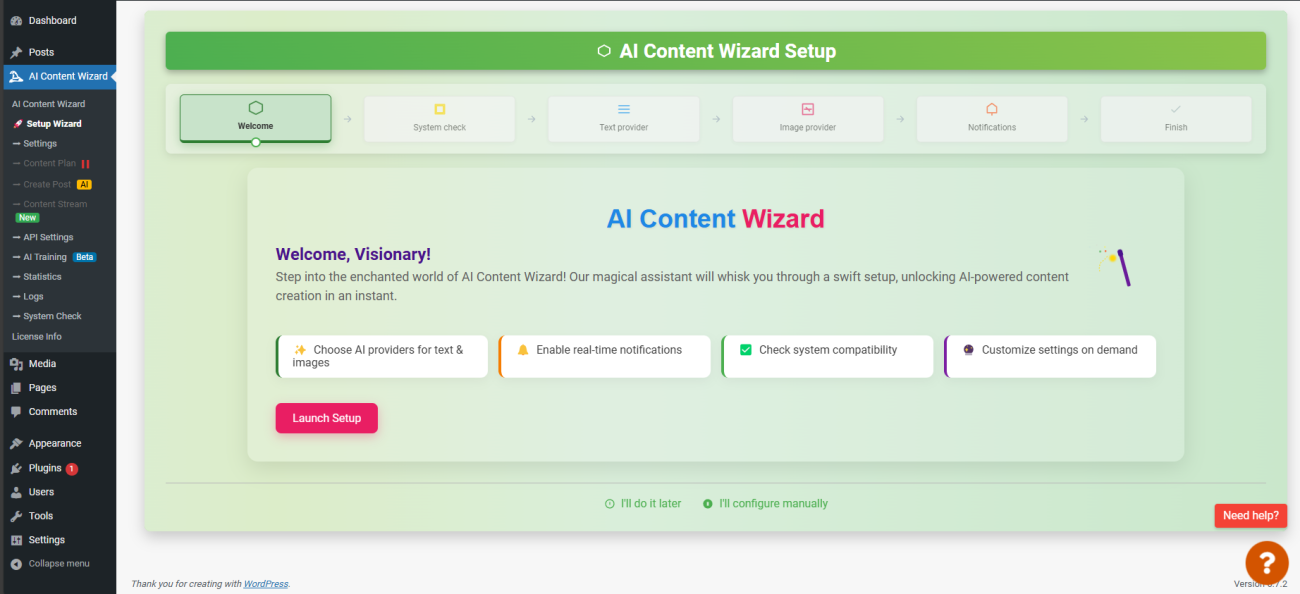
1. Welcome Screen #
What happens:
On this screen, you will receive a brief welcome message and get acquainted with the plugin’s main features. The screen explains how the plugin helps you create content with the power of AI.
What you need to do:
Click the “Launch Setup” button to start the wizard.
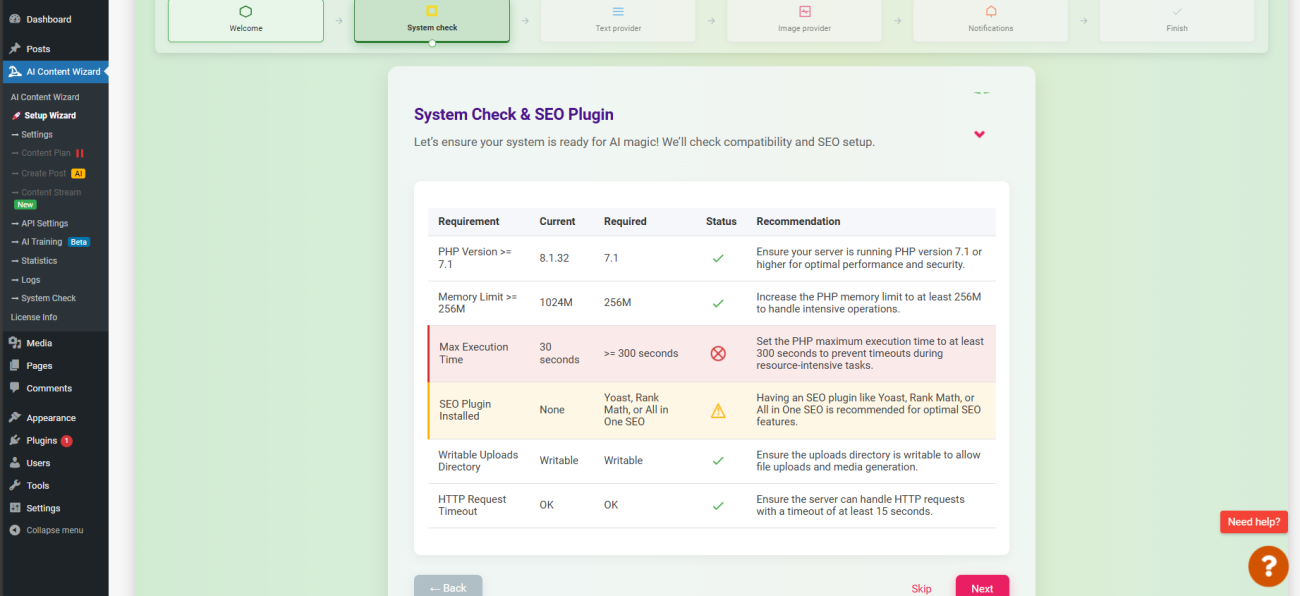
2. System Check #
What happens:
The wizard checks if your system meets the plugin’s requirements. You will see a table displaying:
- The system parameters required.
- The current values on your server.
- Recommendations if any updates or changes are needed.
What you need to do:
If all requirements are met, click the “Next” button. If not, follow the provided recommendations to resolve any issues.
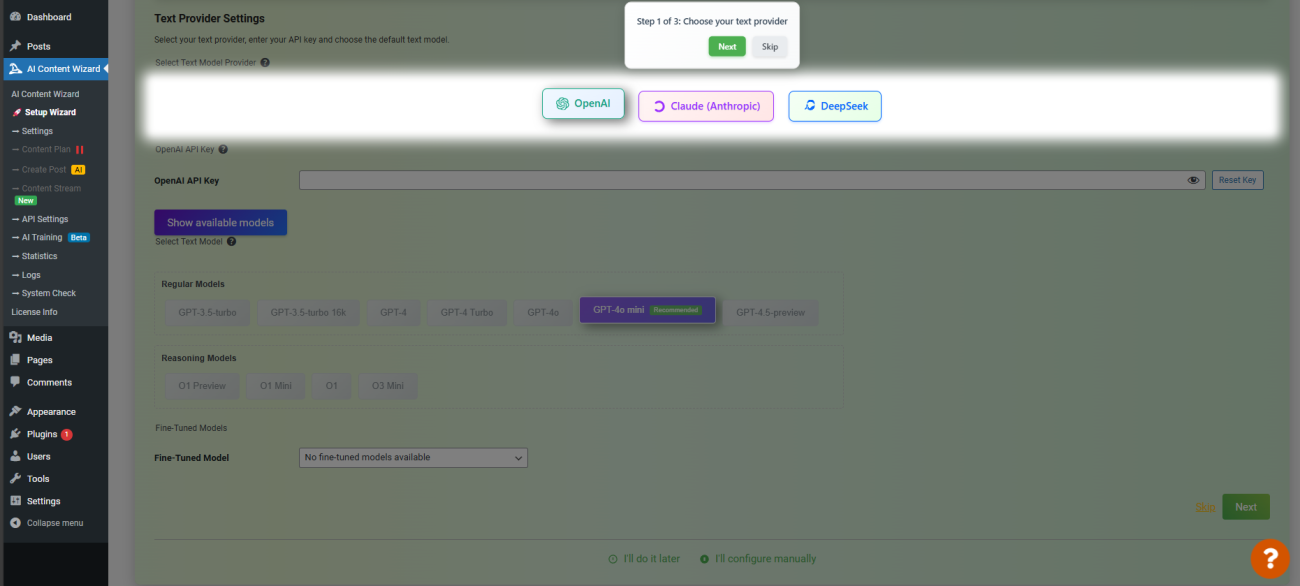
3. Text Provider Setup #
What happens:
At this step, you select the provider for generating text content. Several options are available (for example, OpenAI, Anthropic, DeepSeek).
You will choose your preferred provider, enter the API key (obtained from your provider’s dashboard), and select the text generation model.
What you need to do:
- Choose the text provider that suits you best.
- Enter the valid API key.
- Select the desired text generation model (hover over a model to see its cost and features).
After entering your details, click “Next” to proceed.
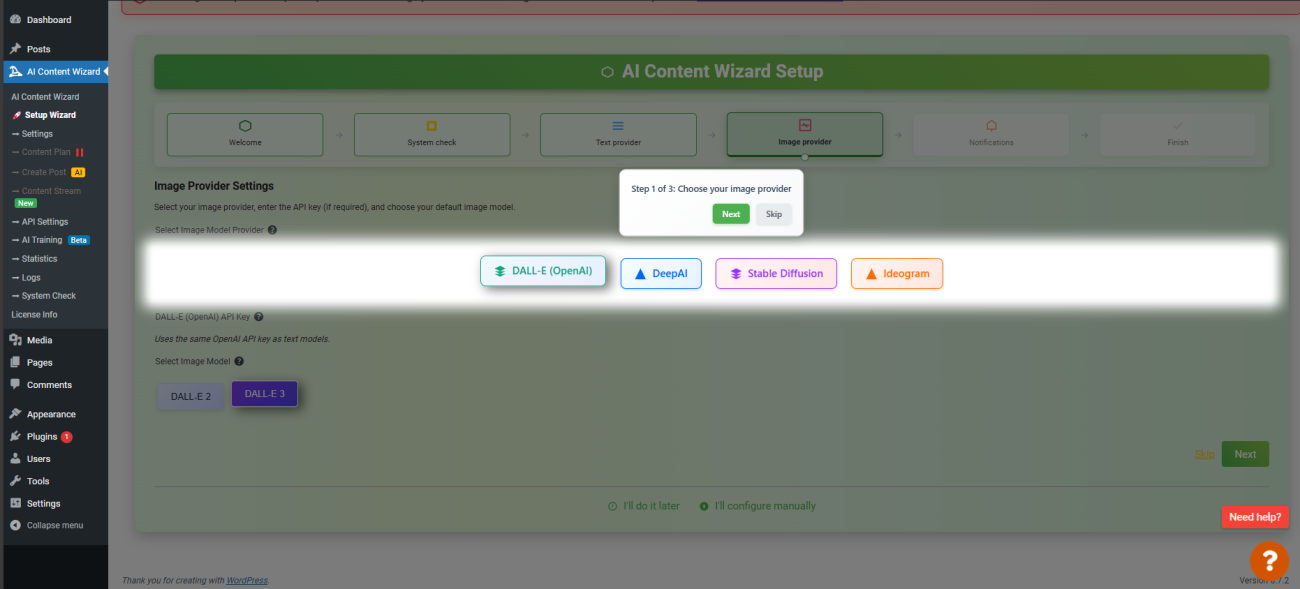
4. Image Provider Setup #
What happens:
In this step, you select the service for generating images. The plugin works with multiple providers (e.g., DALL‑E, DeepAI, Stable Diffusion, Ideogram). If the selected provider requires an API key, you will need to enter it.
What you need to do:
- Choose your image provider.
- Enter the API key if required.
- Select the image model to use.
After entering your details, click the “Next” button.
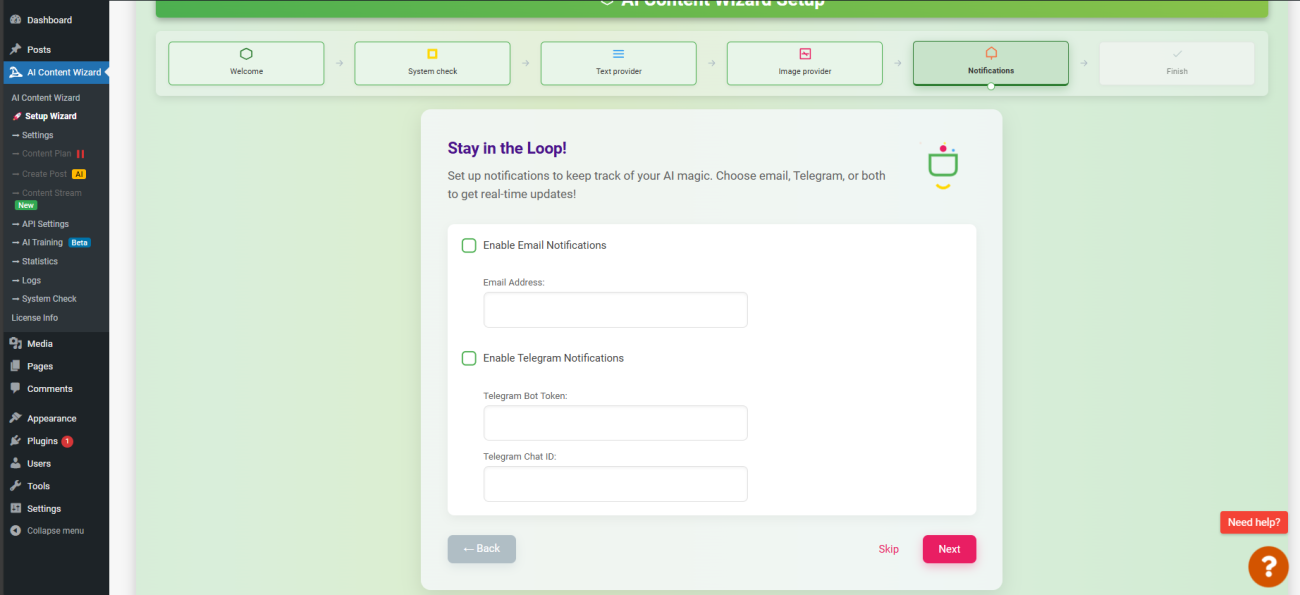
5. Notifications Setup #
What happens:
Here you can configure notifications to receive updates about the plugin’s activities.
Two types of notifications are available:
- Email: Enter the email address where you want to receive notifications.
- Telegram: Optionally, enable Telegram notifications by providing your bot token and chat ID.
What you need to do:
- Check the boxes for the notifications you want to enable.
- Enter the required information for each type of notification.
- Click “Next” to continue.
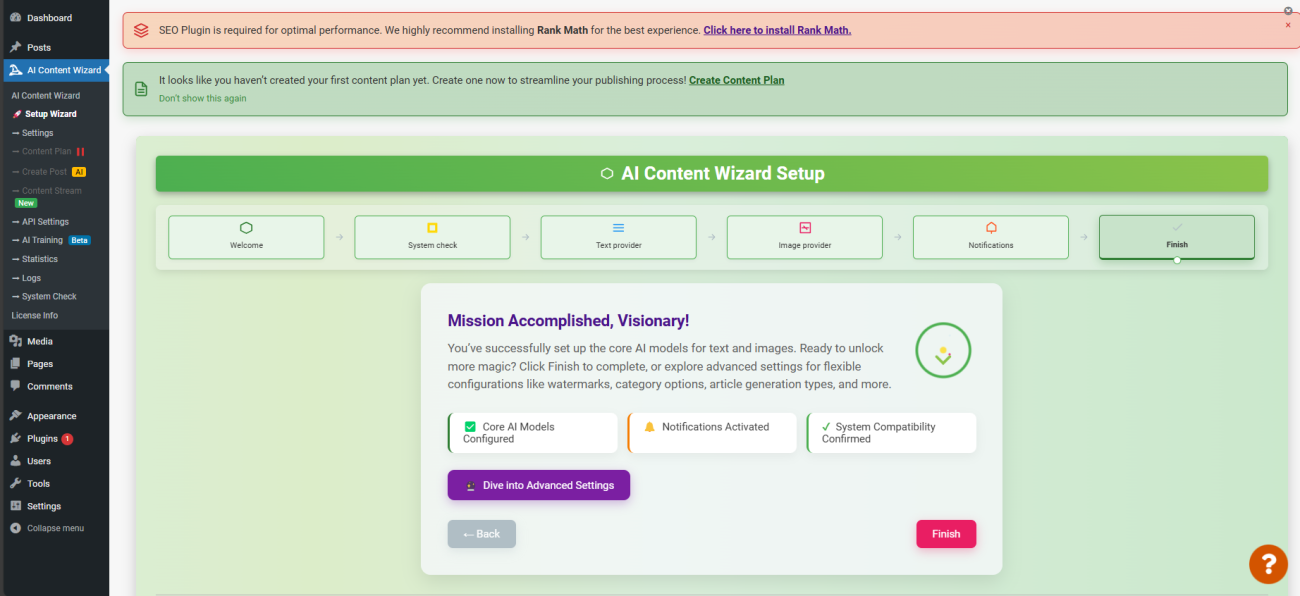
6. Completion (Finish) #
What happens:
On the final step, the wizard confirms that all basic settings have been successfully configured. You will see a brief overview of:
- The text and image providers have been set up.
- Notifications have been activated (if you enabled them).
- The system has passed the compatibility check.
What you need to do:
Click the “Finish” button to save your settings and proceed to the main section of the plugin. The plugin is now ready for use, and you can later configure additional advanced settings if needed.
Tips for Using the Setup Wizard #
- Skipping a Step:
If you are not ready to enter details on any step, you can click “Skip” – the wizard will move you to the next step. You can always configure these settings later in the plugin’s options. - Going Back:
If you wish to change any of the entered data, use the “Back” button to return to the previous step. - Hints and Help:
If you encounter any issues or errors (for example, an invalid API key), the wizard will display helpful pop-up hints and recommendations on how to resolve the problem.
Conclusion #
The AI Content Wizard setup wizard is designed to make the initial configuration process as simple and intuitive as possible. By following this guide, you can quickly set up the plugin’s core functionalities and start creating content with artificial intelligence.
If you have any questions or suggestions for improving the wizard, please refer to the help section in the plugin’s admin area or consult the documentation on our official website.


